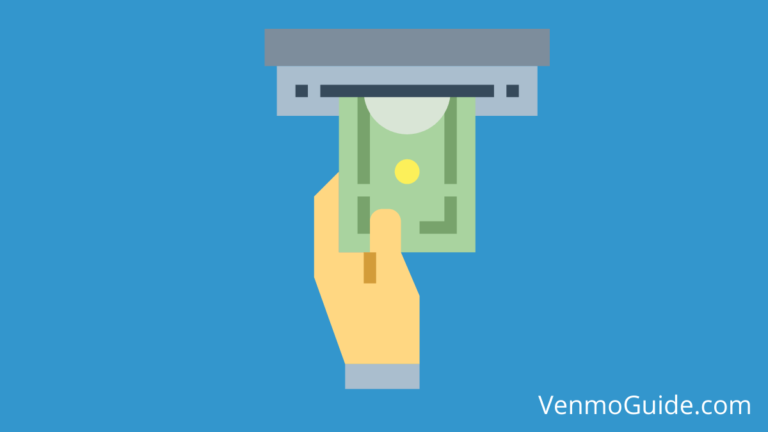
How to Link Venmo to Checking Account?
Yes, you can link Venmo to your Checking account. To Link Venmo to a Checking account – Open Venmo – Settings – Choose Banks and Cards – Tap on Edit Payment Methods – Tap on Add Bank Account – Type your bank’s name in the search bar – Enter your banking info and Tap on Continue.
If you’re new to Venmo and want to know how to link Venmo to your checking account, continue reading to get all the information you need.
Venmo made many people’s lives easier with its innovative application and easy transactions.
However, new users often have a hard time getting used to it. If you can relate to them and want to know how to link Venmo to your checking account, you’re in the right place.
Read on to get all the information you need!
RELATED READ: How Does Venmo Transactions Appear on Bank Statement?

Steps to Link Venmo to Checking Account:
Linking Venmo to your checking account is an easy process. Here’s a summary of the steps you need to follow on the Venmo application:
- Click on the single person icon then the “You” button
- Go to the Settings and choose “Payment Methods.”
- Click on “Add a bank or card.”
- Choose the verification method
Now that we’ve given you an idea about what to expect, it’s time to dive into more details.
How to Link Venmo to Your Checking Bank Account
If you have the Venmo application on your mobile, you can follow the steps we’ve mentioned above.
However, if you want to use your laptop instead, here are the steps you should follow on your browser:
- Go to https://www.venmo.com and log in to your account
- Go to the top right corner of your screen and tap on Settings
- Choose Banks and Cards from the menu on your left
- Tap on Edit Payment Methods
- Tap on Add Bank Account under the Bank Accounts heading
- Type your bank’s name in the search bar
- Enter your Checking bank information
- Tap on Continue
It’s worth mentioning that once you add your checking account to Venmo, they’ll try micro transfers to verify your ownership. The amount is usually about $1, so you need to make sure you have a minimum of $2 in your account to avoid paying extra bank fees.
Also, it’ll be best if you avoid transferring cash before you verify your bank account. This is because if you entered the wrong banking information, Venmo wouldn’t be responsible for any faulty transfer.
Verifying Your Bank Account With Venmo
After adding your checking account to Venmo, you’ll need to verify it so that you can make your transactions safely. There are two ways by which you can verify your checking account with Venmo, and we’ll tell you all about them.
1. Instant Verification
The first way to verify your checking account is by entering your username and password. The service that Venmo uses to verify bank account information and balance is Plaid. If your bank allows instant verifications, Venmo will prompt you to enter your online banking information right after choosing your bank from the list.
If you face any challenges in entering your banking information, you should contact your bank and make sure your credentials are right.
Alternatively, if you choose Manual Verification instead of Instant Verification, you’ll be able to verify your account with your account number and routing instead.
2. Micro Transfers
If you choose Manual Verification and enter your routing and account number, Venmo will send you micro transfers. They’ll issue two withdrawals and two deposits of about $1 each at the same time.
That said, those transactions won’t show on your bank statement right away. They might take about one to three business days. Once you receive the information on your bank statement, you should go to www.venmo.com/verifybank to complete your verification.
If three days pass and you still don’t get those transactions, you might have entered incorrect banking information. In this case, you’ll need to contact your bank or check Venmo’s invalid bank account policy.
How to Transfer Funds to Your Bank Account
After verifying your bank account with Venmo, it’s time to transfer some funds. If you have the Venmo application on your mobile, follow those steps:
- Open the Venmo application
- Select the single person icon
- Click on the “You” button
- Click on the “Add or Transfer” button
- Enter the cash amount you want to add to your bank account
- Choose “1-3 Biz Days” and pay no extra fees or “Instant” and pay an additional fee
- Choose your debit card or bank account from the menu
- Check your transfer details
- Click on the “Transfer” button
It’s worth mentioning that not all bank accounts are eligible for instant transfer. The option is only available for Mastercard and Visa debit cards and U.S. banks.
Joint Bank Account on Venmo
If you have a joint bank account with someone you know, and you both want to add it to Venmo, you can. That said, this option is limited to only two Venmo accounts. You can’t add the same bank information to three accounts.
If you do this with someone, the person who added the bank account first will get notified once the other person adds it to their Venmo account. This notification is essential because it protects people who don’t have joint bank accounts but get their banking information stolen.
Frequently Asked Questions
Can My Bank Account Get Disconnected From Venmo?
Yes, it can. It usually happens when you update your online banking information. In that case, you’ll have to remove your bank account and add it again on Venmo.
How Much Extra Fees Will I Pay if I Choose Instant Transfer?
If you choose instant transfer on Venmo, you’ll pay about 1.5% of the amount you transferred. However, the minimum fee is $0.25, and the maximum fee is $15.
To Wrap Up
If you recently made a Venmo account and want to link your bank checking account to it, it’s a pretty simple process. And as a bonus point, you can do it through your phone or browser. After linking the account, you’ll have to verify your bank account with Venmo to ensure that your information is correct. After that, you can make your transactions safely.