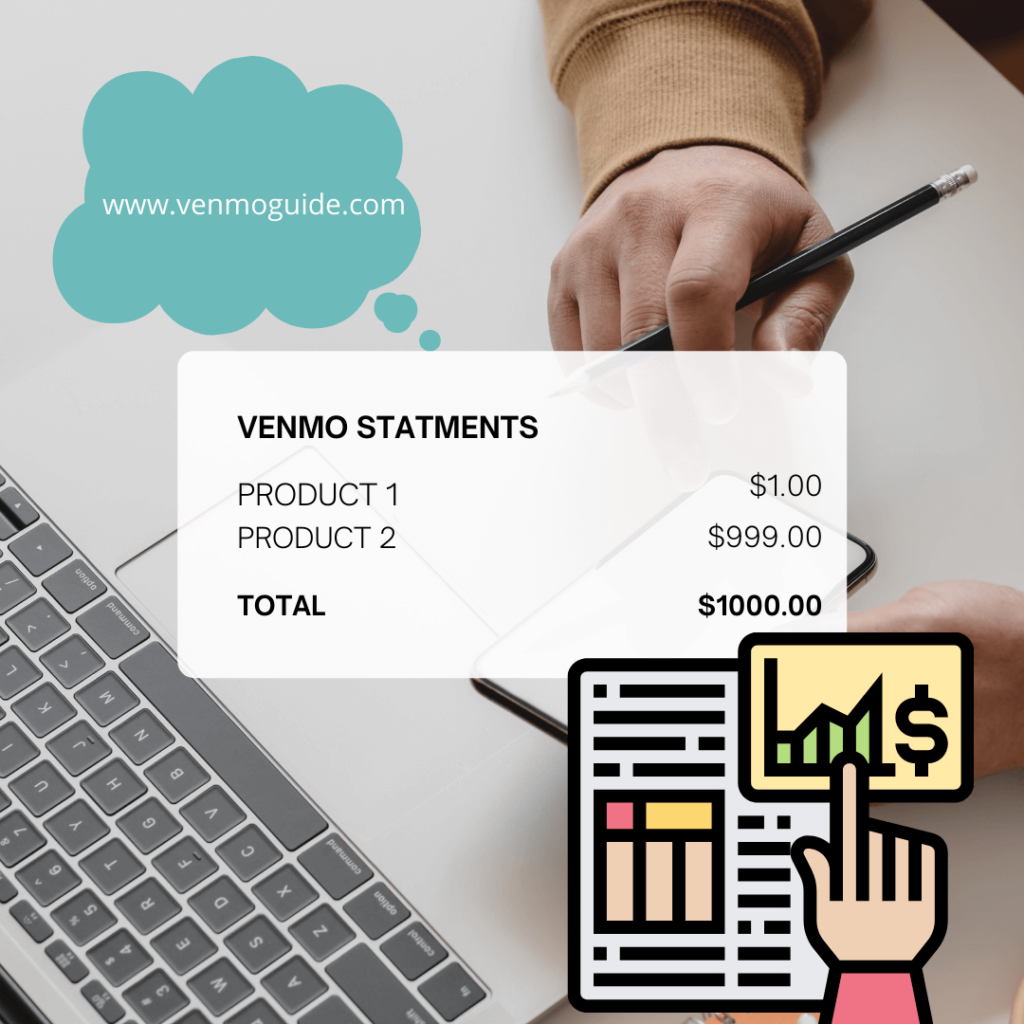
How to View Venmo Statements?
To View Venmo Statements: Open Venmo App and Click on Profile Icon. Next, Tap on the “You” tab and Your statement will be shown on your screen and can be sorted from one-month windows to 3 years back. Select the “Download CSV” button to download your transaction history as a CSV file.
With Venmo, you can view your transaction history right from the day you started using the account. However, you’re only allowed to view it once a month.
In this article, we’ll take you through how to check your Venmo statement. We’ll also take a look at how to save it as a PDF after viewing it.
RELATED READ: How Does Venmo Transactions Appear on Bank Statement?
How to View & Download Venmo Statements: Tutorials
To view Venmo statements:
- Step 1: Open Venmo App
- Step 2: Click on Profile Icon
- Step 3: Tap on the “You” tab
- Step 4: Your statement will be shown on your screen.
- Step 5: Alternatively, Visit Venmo.com
- Step 6: Click on “Statement” to view your transaction history.
- Step 7: Select the “Download CSV” button to download your transaction history as a CSV file.
Although Venmo gives you notifications of all your transactions, having this information in one place makes it easy to keep track of your income and expenses.
How to Get Old Venmo Statements?
To get your Old Venmo Statements:
- Visit Venmo.com
- Sign on to your Venmo account
- Go to https://venmo.com/account/statement.
- Select the period of your Venmo history.
- Click on the “Download CSV” tab to download your transaction history as a CSV file.
How to Get Venmo Statements?
You can get your Venmo statement via:
- The Venmo mobile phone app
- A web browser
Let’s take a closer look at these methods.
Using The Venmo App
To be able to view your statement via the mobile app, you need to download the app. If you already have the Venmo app installed on your smartphone, then you can go ahead to check your statement.
If not, here’s what you should do:
- Open your Android play store and search for Venmo.
- Tap on the install button.
- For IOS users, search for Venmo and tap on “Get.”
Once you’re done downloading the app, you can now check the statement. Whether you’re on the old or new version of the app, the process requires simple steps.
For the old version: look at the top right corner to the right of your friends’ feed when you open the app. You should see an icon that looks like three horizontal bars (☰). Click on it. Now, you have access to all your transactions.
For the new version: click on the “You” tab by selecting the single-person icon with a dollar sign to view your statement.
Using Your Web Browser
Although checking your statement on the app is easier, you can also use your web browser. These instructions will give you the assistance you need.
- Type “Venmo.com” into your web browser.
- Sign in by providing your email or username and your password.
- On the left part of your screen, below your profile picture, you’ll find a list of options. Click on “Statement” to view all your transactions.
How to Save Your Venmo Statement as a PDF?
Did you know that you can save your Venmo statement as a PDF on your devices? You never know when and where you’ll need this information, so having it readily available can be such a lifesaver.
Though there is no direct button that you can use to save your statement as PDF, you’ll find it an easy process if you follow these steps.
- Follow the same steps involved in checking your Venmo statement via your web browser.
- Next, position your mouse pointer on a blank spot on the page and right-click.
- In the “Destination” box at the right side of the window that opens, select “Save as PDF.”
- Click on the “Save” button at the bottom of the screen.
- Choose the folder in which you want to save the PDF, then click again on the “Save” button.
If you want to view or save your full statement for tax preparation, we recommend creating a business profile. That way, you can get help with formal tax documentation. Read this article to learn more.
How to Print a Venmo Statement?
- Select the Venmo Statement file you want to print
- Open the file so it appears on your computer screen.
- Press the Ctrl and P buttons on your keyboard at the same time.
- Once the printing pop-up menu appears on your computer screen, select the printer you intend to send the job.
- If needed, modify your print settings.
- Click the Print button on the screen to send the job into the printer print queue
- Wait for the job to complete.
Yes, Venmo sends your statement to the email address you used to set up your account. Also, they send hard copy statements to your mail. You can print them if you want.
If you no longer want this service, you’re free to cancel it by going to your Venmo credit card settings, opening the Statement delivery option, and opt-out. Then, you’ll no longer receive your Venmo statement in your mail.
Read: Where Can I Use a Venmo Card?
Can You Delete Your Venmo Transactions History?
One of the reasons Venmo is well known is that you can share your transactions with friends and family. Once your friends add you, you can see whatever they do with their Venmo credit card. Although this sounds exciting, you might not really like this idea if you’re a private person.
So, can you delete your Venmo history? No, your Venmo transactions can’t be deleted; however, you can make them private so that only the sender and the recipient can view your transactions.
Whether you’re using your web browser or the Venmo mobile app, the following steps will show you how to make your transactions history private.
Using the Venmo App
Here are the steps to follow when using the Venmo app:
- Open the app on your Android or iPhone.
- Click on the three horizontal bars on the top left corner of your screen.
- A menu will appear; select “Settings.” It’s the second option from the bottom.
- Tap on “Privacy” from the “Settings” menu and select “More” from the options provided.
- Tap “Change All to Private.” A confirmation box will appear; tap the same thing.
Using Your Web Browser
Here are the steps to follow when using a web browser:
- When you log in to Venmo on your web browser, go to “Settings.”
- Click on “Privacy” on the menu that appears.
- You’ll see three different options; click on “Private.”
- Click on “Save Settings” at the bottom left corner of the settings page.
Last Words
Whether you belong to the over 70 million people who use Venmo or you’re thinking of joining the family, you’ll need to know how to view your statement.
Overall, we’ve covered how to view your Venmo statement from your mobile app or web browser. This statement can come in handy when you need to verify a particular transaction on Venmo.
Plus, we added steps on how to save your Venmo statement as a PDF so that you always have a copy of your statement on your device.
Also, if you have any issues after viewing your statement, you can contact the Venmo help center for assistance.