Interested to read about open authorization, also known as OAuth, which Venmo uses to authenticate users with their app using access tokens.
Authentication is the backbone of many online services nowadays, such as Venmo. It’s crucial because it verifies that a user attempting to gain access to part of the platform is legit and has entered the correct credentials.
Venmo uses open authorization 2.0 (OAuth 2.0) for this process, which is one of the most prominent authentication standards. To get a Venmo OAuth access token, you must redirect the user to the Venmo authorization URL. Next, the user must sign in and authenticate the app on their account.
Find out how it works and how to make a request for a Venmo API token here!
We recommend you use server-side flow to redirect the user. But if you’re developing a small app, you can use client-side flow.
READ: 5 Reasons Why Venmo Card Won’t Let Me Withdraw in ATM?
What Is User Authentication and Why Does It Matter?
Before we talk about Venmo’s OAuth 2.0 access token and any issues you might have with it, it’s good to grasp the concept of user authentication.
Authentication is the method of verifying that a user trying to access the service is a legitimate user trying to log into their account.
Login credentials, such as email addresses, usernames, phone numbers, and, most importantly, passwords, have always been the dominant authentication method.
However, as the internet grows more complex and the average user is growing more numb towards security risks, developers understand that using passwords alone isn’t secure enough.
When the average person has about 90 accounts on different platforms, they likely use a similar password across many of them. It’s also expected that users have relatively simple passwords because they’re easier to forget.
So if you fall under these criteria and a hacker manages to get one of your passwords, it’s very likely that your whole cyber presence is compromised faster than you can react.
And that’s why we now have different ways to authenticate users. For example, two-factor authentication and biometric authentication are prevalent. But we’re here to talk about token-based authentication.
What Is Token-Based Authentication?
Token-based authentication is when a service verifies your identity using an access token sent to you through another medium.
For example, when you log into a service and it asks you for a one-time password or a PIN code, this is a prime example of token-based authentication.
OAuth 2.0 Access Tokens Explained
Open authorization 2.0, or OAuth 2.0 for short, is a form of authorization, not authentication. However, it’s vital because Venmo uses OAuth 2.0 to authenticate users with the app through access tokens.
Because OAuth 2.0 is an authorization protocol, its main job is to provide access to data or other resources, not verify if the user is legitimate.
OAuth 2.0 also uses a unique access token for each user as a “pass” that the user is authorized to do what they’re trying to do.
For example, when you’re logged into Venmo, you’re already authenticated, and the app knows that you’re a legitimate user. But when you make app requests, such as sending payment or checking the balance, OAuth 2.0 uses an access token to authorize you to complete this request.
How to Request a Venmo OAuth Access Token?
Before you get an OAuth access token, the user must authorize your app to use their Venmo account. To do this, redirect the user to the authorization URL, which will prompt them to sign into their Venmo account and give access to your app.
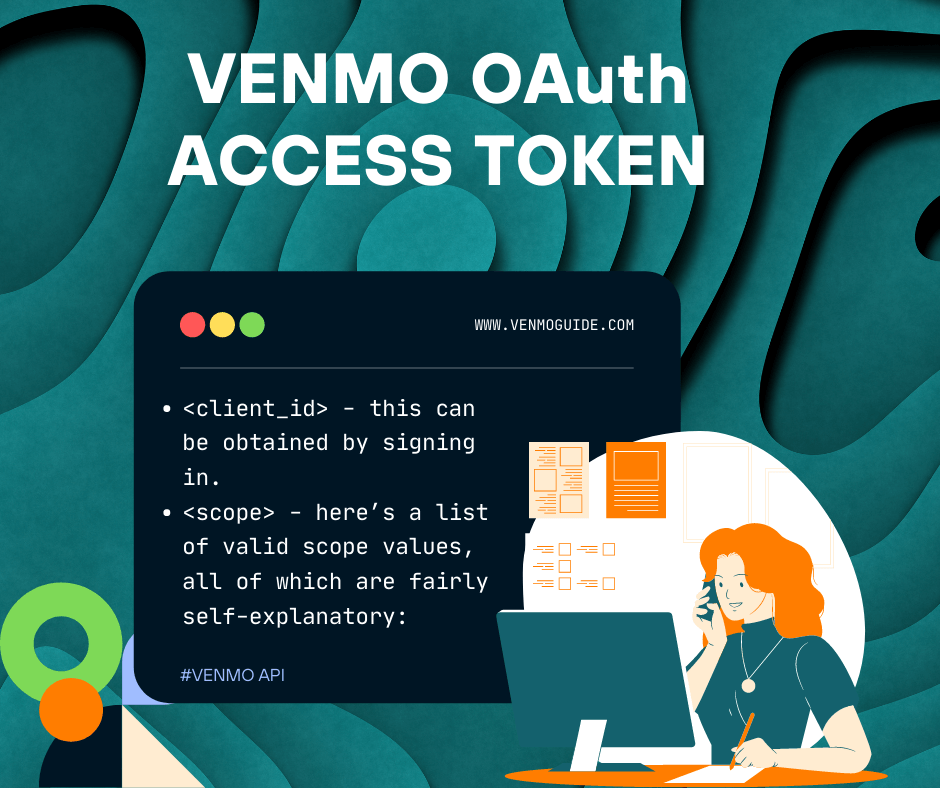
Here’s the authorization URL you need for your users: https://api.venmo.com/v1/oauth/authorize?client_id=<client_id>&scope=<scope>
The two required parameters in this URL are:
- <client_id> – this can be obtained by signing in.
– here’s a list of valid scope values, all of which are fairly self-explanatory: - make_payments – allows you to make payments or payment requests through the authenticated user’s account.
- access_payment_history – shows you the authenticated user’s payment history.
- access_feed – shows you posts on the user’s main feed
- access_profile – shows you the user’s profile info
- access_email – shows the user’s email address
- access_phone – shows the user’s phone number
- access_balance – shows the user’s balance
- access_friends – shows the user’s friends
Apart from these two required parameters, there are also a few optional parameters to refine your query:
- response_type – valid options are:
- code (default) – for server-side flow
- token – for client-side flow
- redirect_uri – redirects the user to this address after authentication. Must be the same website as the web_redirect_url
- state – this is a measure against cross-site request forgery attacks. You can enter any value in this parameter, and it will be returned in the redirect URL.
If the user denies access entirely, you’ll get redirected back to the app with an error query.